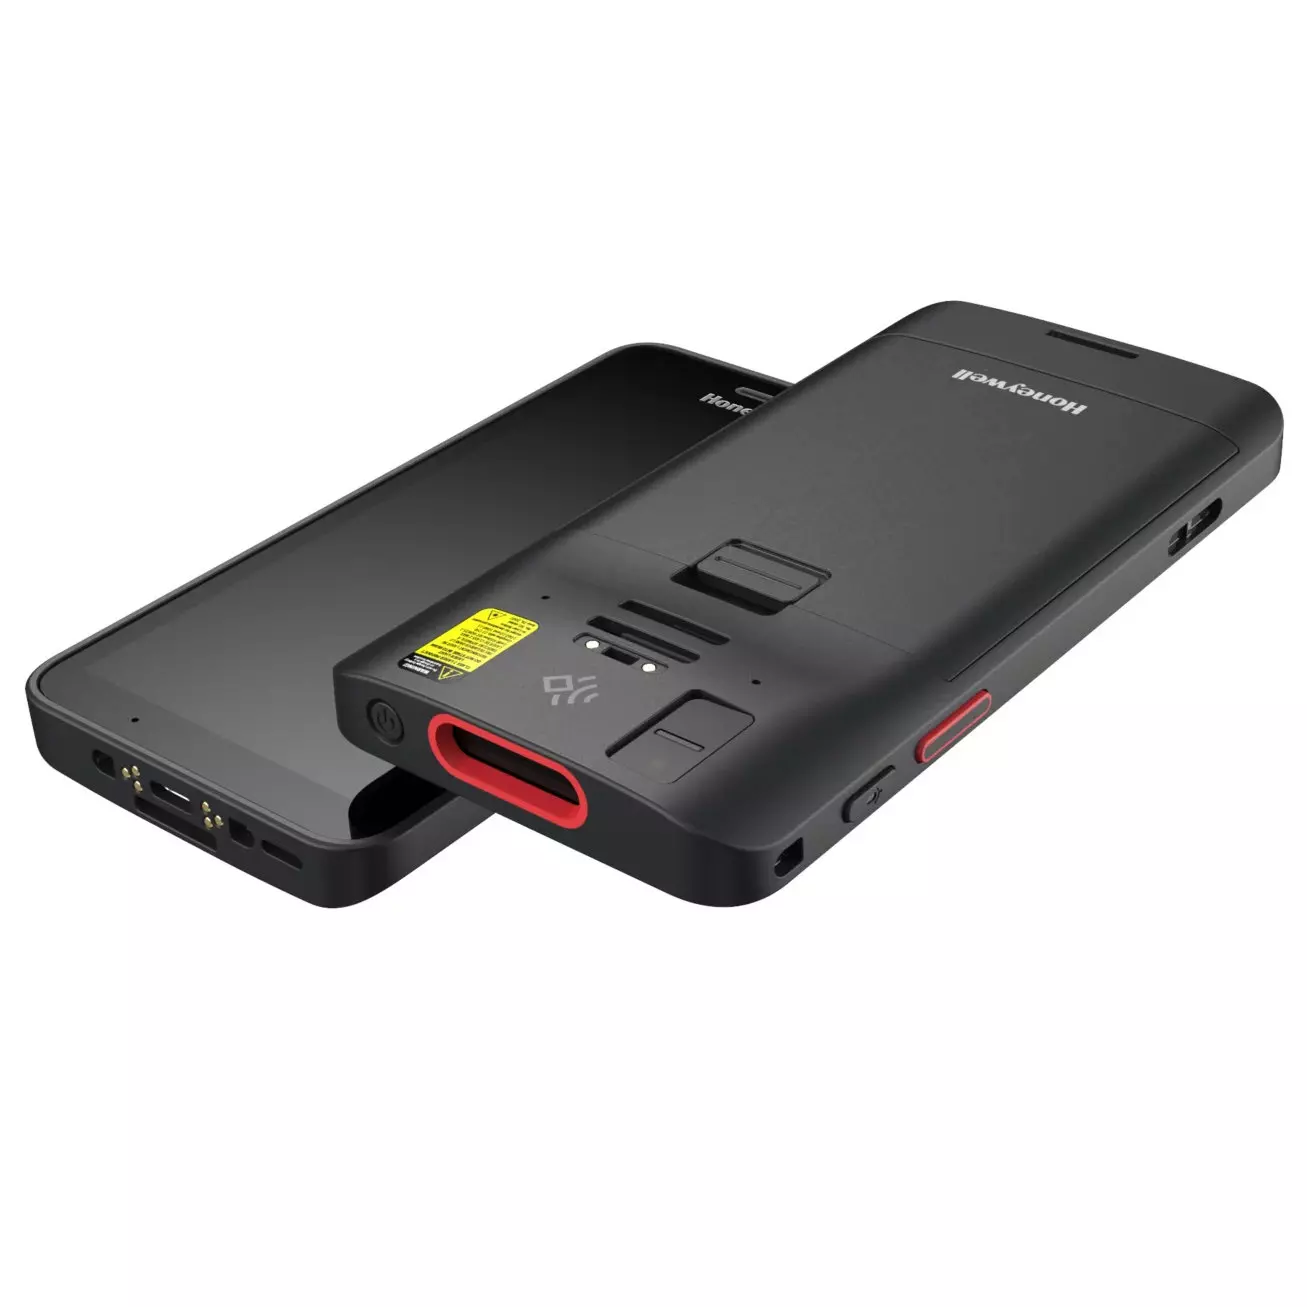
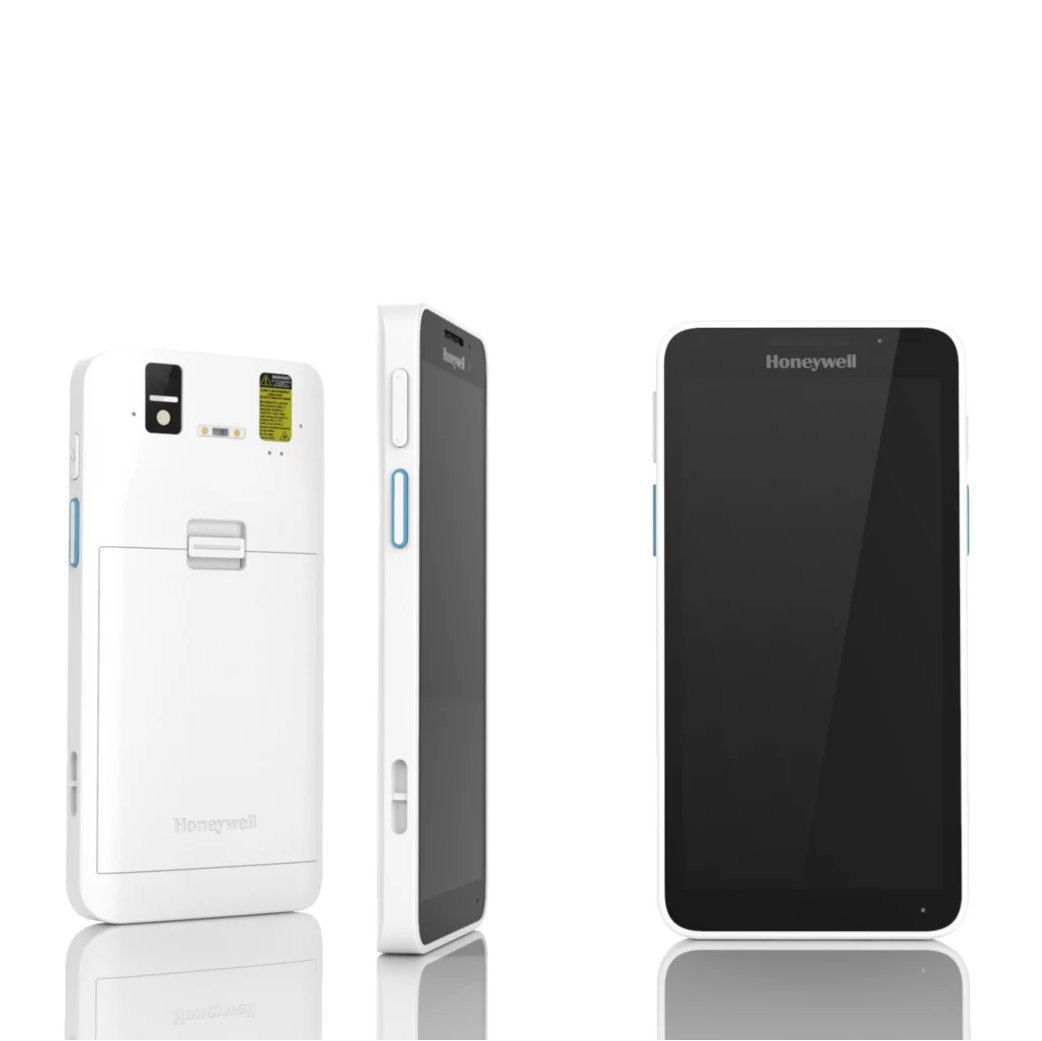
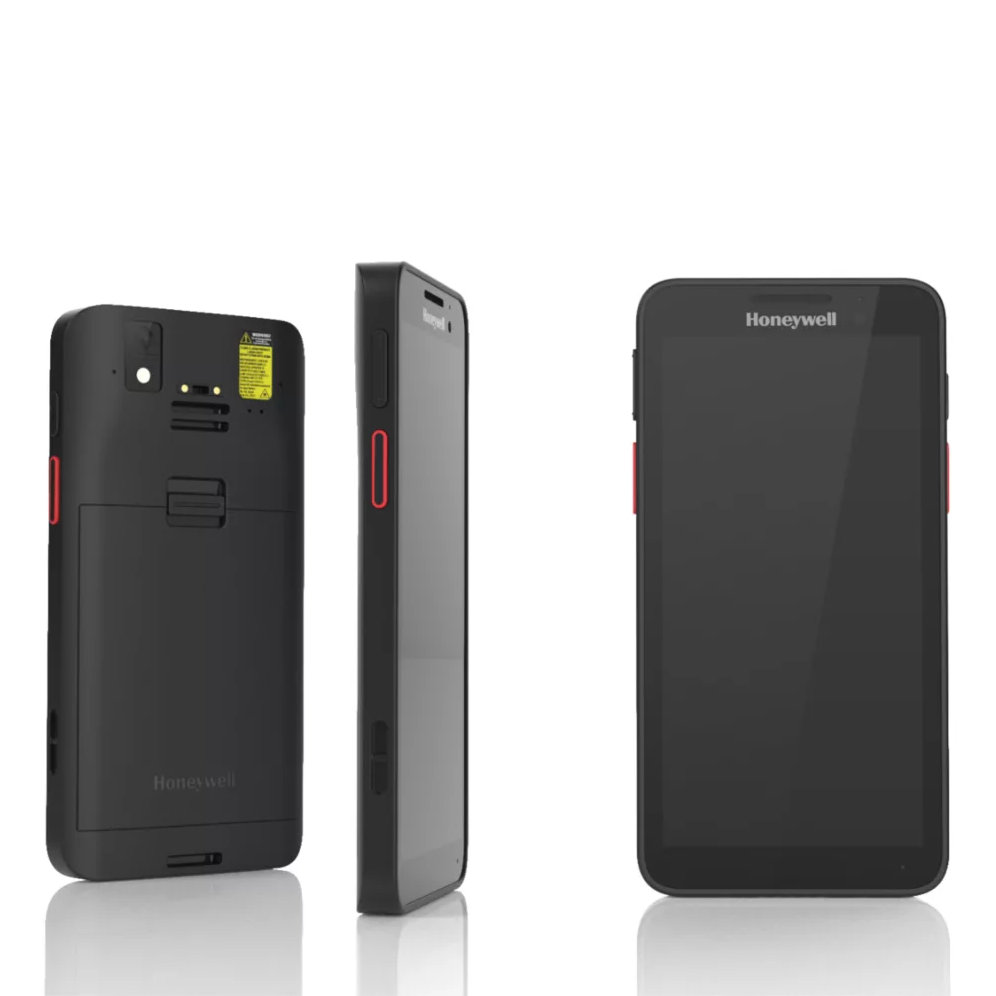
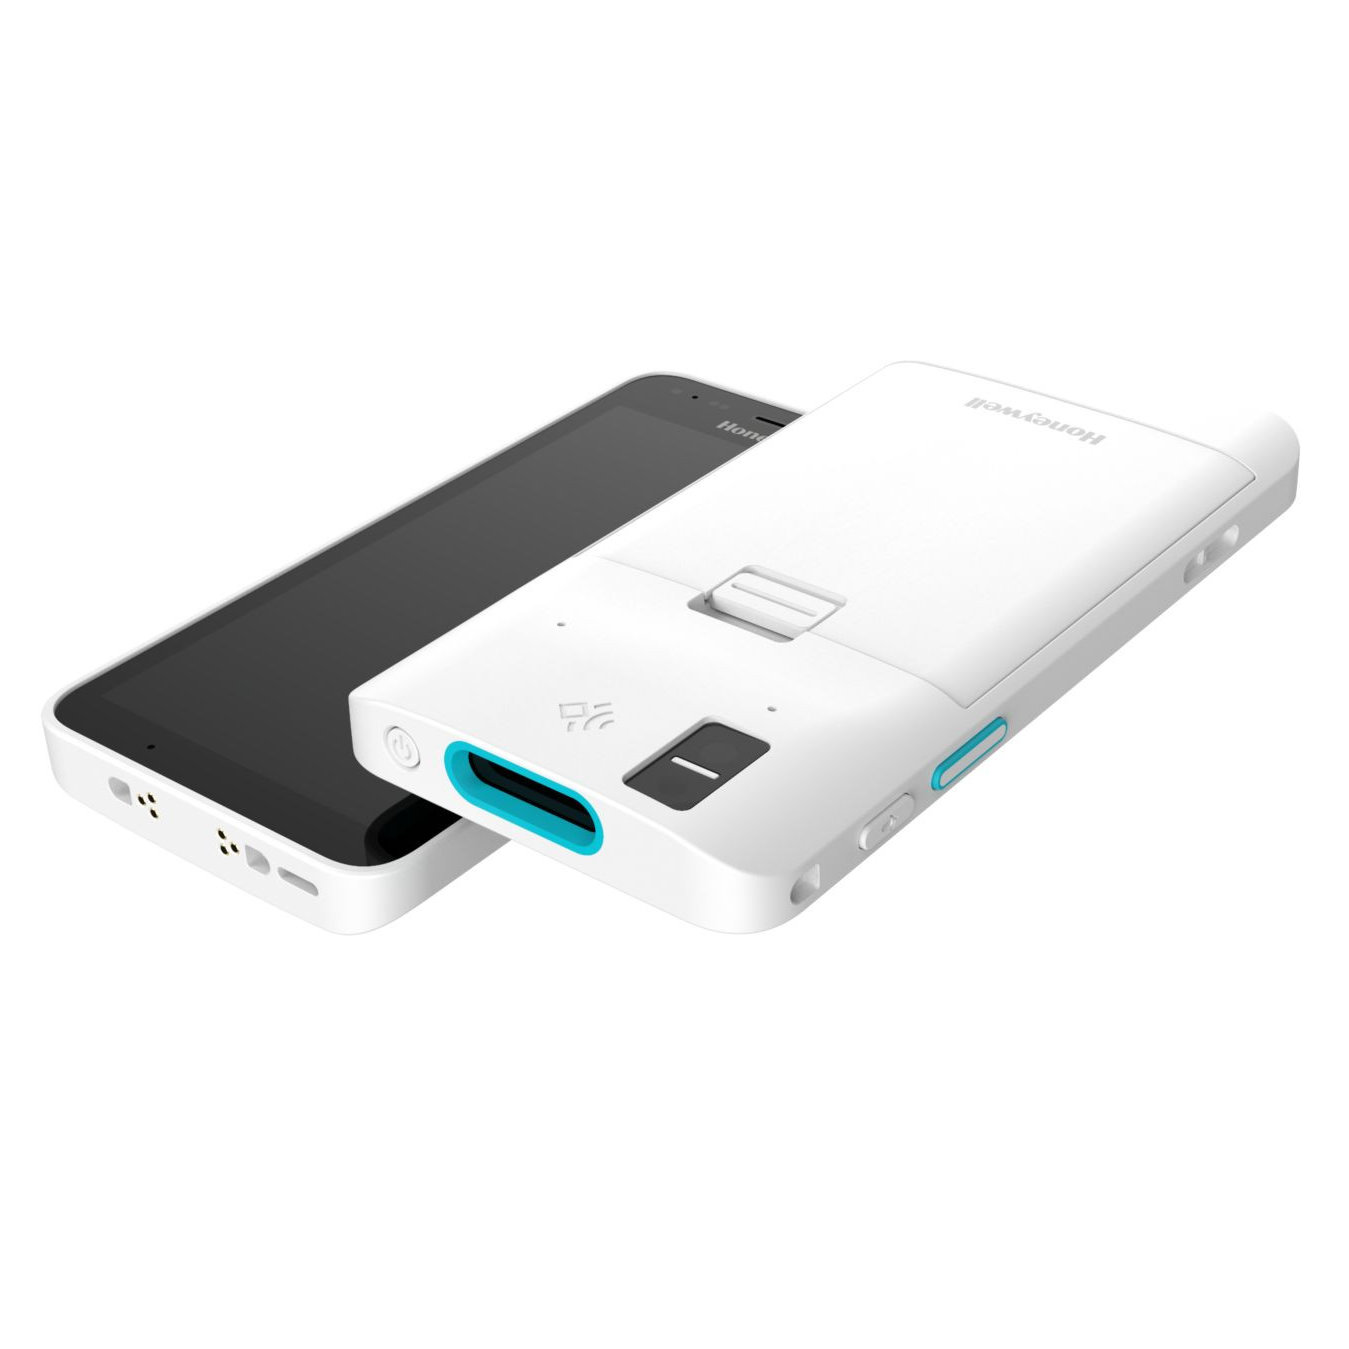
Handheld Computer Wearable Kit
The CT30 XP Wearable Kit allows the user to mount a CT30 XP mobile computer without a protective boot on either arm. It consists of an arm mount sled and an armband. The sled includes a replaceable rubber pad that helps keep the wearable kit in place.
Industry Use:
- Soft Goods Retail
- General Merchandise
- Healthcare
Features
Honeywell offers the following wearable kit for the CT30 XP mobile computer:
• CT30P-WS-KIT for use with a CT30 XP without a boot attached.
The mobile computer can be charged in any CT30 XP charge base with a non-booted Universal Dock cup without removing it from the Wearable Kit
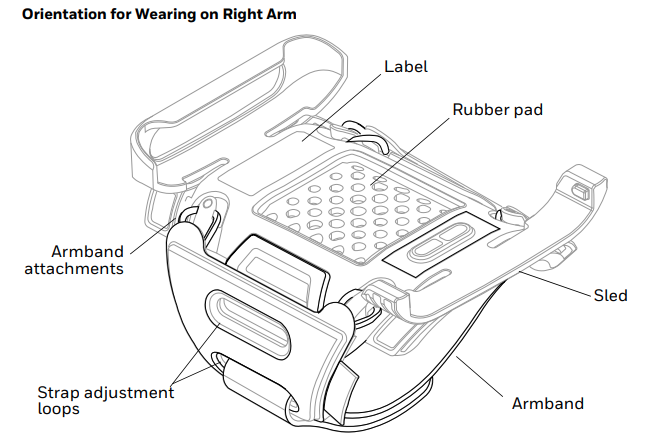
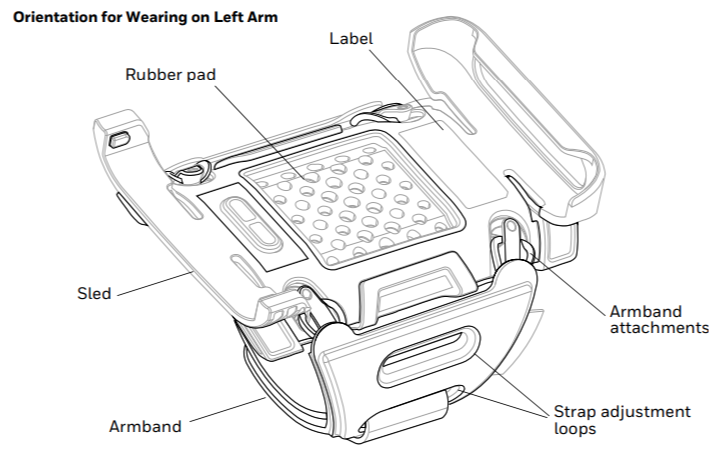
Out of the Box
Make sure that your shipping box contains the following:
- Wearable Kit (CT30P-WS-KIT) including sled, rubber pad, and armband
If any items are missing or appear damaged, contact your Customer Account Representative. Keep the original packaging in the event that you need to return the Wearable Kit or store it when not in use.
Replacement Parts
The wearable kit consists of three parts, the sled, rubber pad, and armband, which can be replaced if they become worn or damaged. Use the following part numbers to order replacement parts.
| Part | Part Number |
|---|---|
| Sled | CT3OP-WS-KIT-03 |
| Rubber part | CT3OP-WS-KIT-02 |
| Armband | CT3OP-WS-KIT-01 |
Note: When you order a Wearable Kit, the label on the sled will have the part number for the kit (CT30P-WS-KIT). When you order a replacement sled, the label will have the sled part number (CT30P-WS-KIT-03).
Assemble Wearable Kit
The Wearable Kit is shipped fully assembled with the strap in place to be worn on the right arm. The kit can be worn on either the right or left arm depending on the user’s preference.
Note: Remove hand strap from CT30 XP mobile computer before assembly.
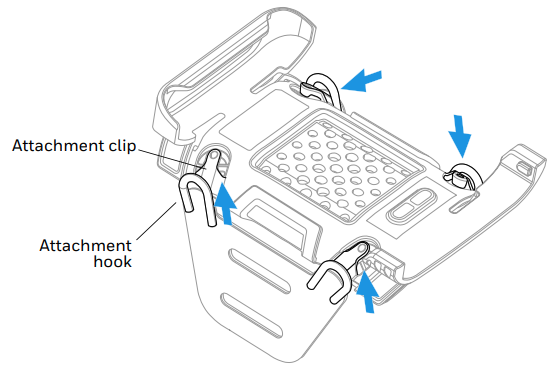
1. Attach the hooks from the armband to the attachment clips on the sled. The following illustration shows the armband attached for wearing on the right arm. To change arms, simply remove the armband and reverse the way it is oriented.
2. Place the sled on top of your arm.
3. Pull the end of the strap through the adjustment loop. You can adjust the length of the strap by using the top or bottom loop.
4. Tighten the strap around the arm so that the sled is held firmly in place in a comfortable position.
5. Fold the strap over and secure with the hook-and-loop tape.

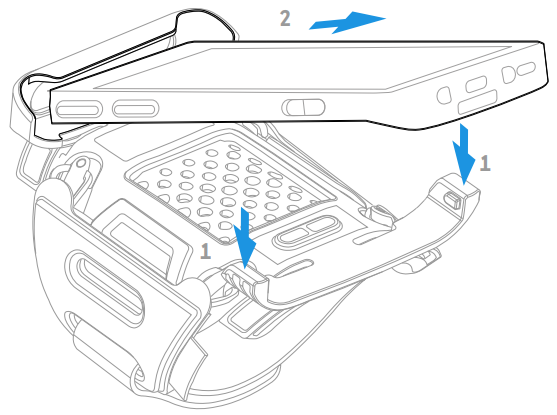
6. Insert the top of the CT30 XP into the sled then push the bottom down until it clicks into place.

7. Verify that the CT30 XP is firmly seated in the sled.

Scanning Barcodes
When a CT30 XP mobile computer has been installed in the wearable kit, it can be used to scan barcodes using either the CT30 XP’s integrated imager or by pairing it with a Bluetooth scanner such as the 8675i Wearable Scanner.
For more information on scanning or pairing the CT30 XP mobile computer with a Bluetooth device, see the CT30 XP User Guide. For details on using a Bluetooth scanner, see the user guide for the selected device.
Remove Wearable Kit
- To remove the Wearable Kit, loosen the strap. It is not necessary to remove the strap from the adjustment loop.
- Remove the wearable kit from your arm.
- Place the wearable kit on a table or other flat surface.
- Push down on the clips on both sides of the sled to release the mobile computer and lift it out of the sled.
Replace Rubber Pad
The rubber pad on the Wearable Kit can be replaced if necessary due to wear or damage.
Note: The rubber pad should always be used with the Wearable Kit to ensure that the kit stays in place on your arm.
1. Remove the existing pad by sliding off the middle flaps then removing the front and back ends.
2. Insert the sled’s rear feet into the rear slots on the new pad.
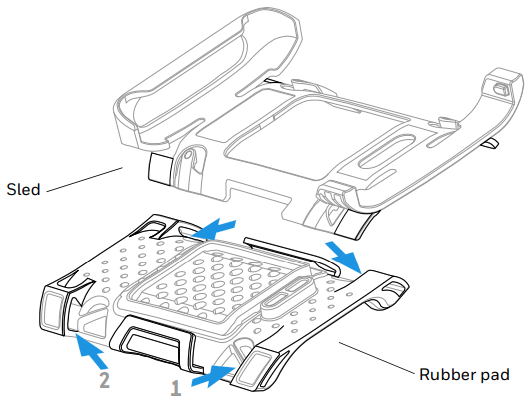
3. Insert the sled’s front feet into the front slots on the pad.
4. Fold the middle flaps over the sled.
Cleaning
All parts of the Wearable Kit can be cleaned between uses. The armband and rubber pad can be cleaned with a non-abrasive, damp cloth and a mild dish soap solution.
The sled is made from the same disinfectant-ready housing (DRH) as the CT30 XP mobile computer and is designed to resist the effects of harsh chemicals. You can wipe off the sled between uses or as needed.
Please refer to the Honeywell Safety and Productivity Solutions website for specific details on how to clean disinfectant-ready housings. Helpful information on the care of these specialty products can be found in the following article:
• Honeywell Instructions for Cleaning General Purpose Disinfectant-Ready Housing Devices
Allow all parts to air dry completely before use.

